See Kate Sew partners with Gugu Guru once again to share a fantastic DIY tutorial. This time? A DIY maternity hack using a men’s flannel shirt. Want to check out more DIY projects from Kate? Click over to see the full list – lots of fun weekend DIY ideas!
I’m thrilled to be back at Gugu Guru sharing another DIY maternity hack as a part of a little series. Each of the three projects uses a simple men’s clothing style that you can find at most thrift stores. With a few little chops and a bit of sewing you can make your own maternity wear! See post #1 here.
This is the second post in the series and uses a flannel men’s button-up as a base. I used a large size that would have plenty of fabric for a belly.
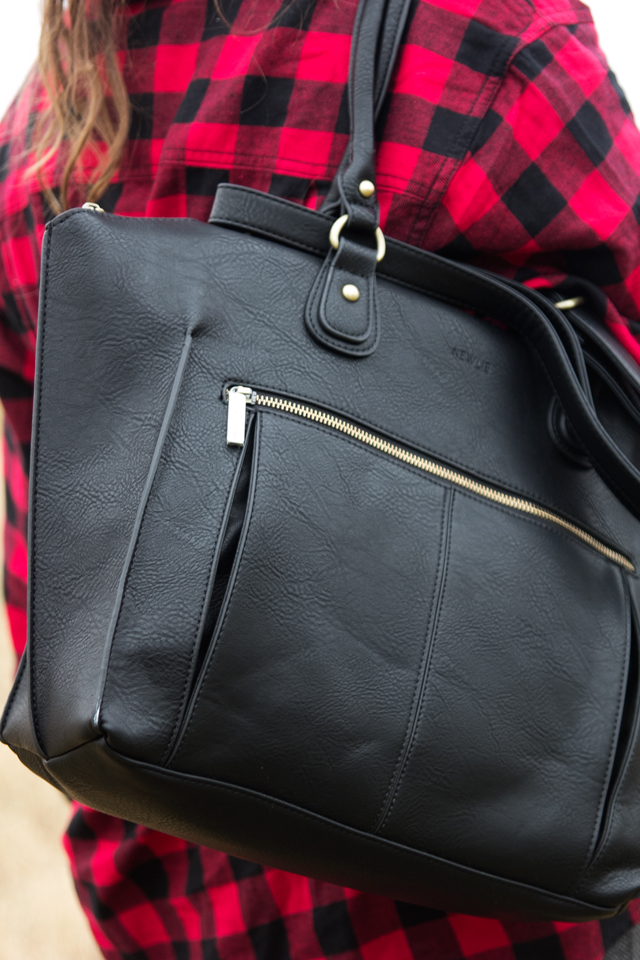
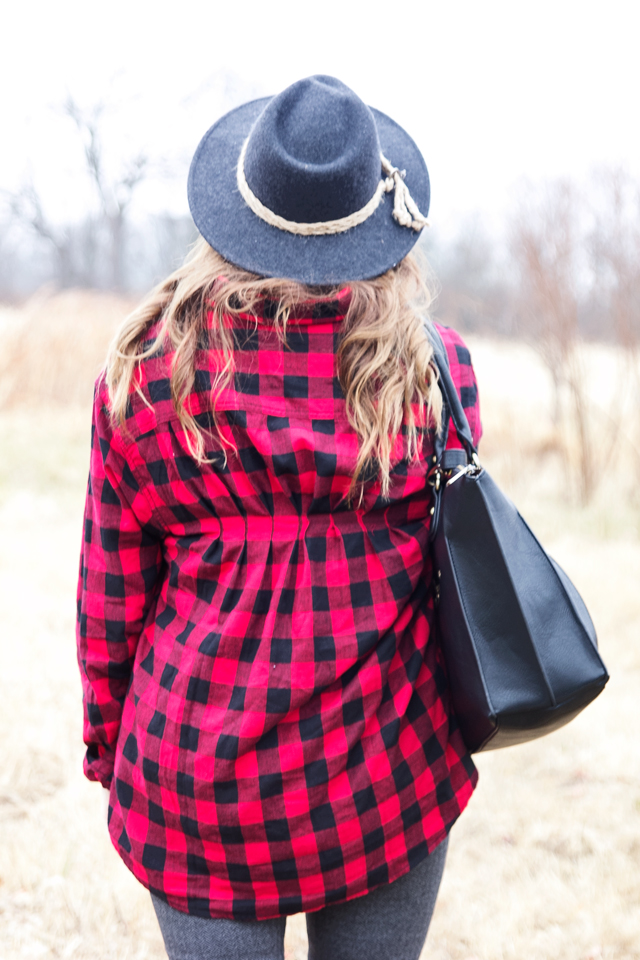
We partnered with Newlie to style up this outfit! Newlie’s diaper bags are super classy inside and out! I love the Lily Tote Diaper Bag, it has tons of pockets, a changing pad, 2 strap options and a gorgeous faux leather exterior. It comes in a few colors, but black went best with this outfit 😉 I also love the Sophia bag, the black and white stripes are really cute! I love a diaper bag that doesn’t look like a diaper bag and Newlie’s fit the bill while still being holding all of a diaper bag’s functions!
I love DIY refashions and this one is a super quick sew! All we’re doing is taking in the waist so the fabric drapes over the belly! I did this on a dress form, but if you don’t have a dress form you can try it on yourself to get the placement right.
Materials//
-1 Men’s button-up in 2XL or 3XL
-1/2″ elastic, measure below your bust in the front to figure out how much elastic you need. If your measurement is 18″, cut an 18″ piece of fabric
-basic sewing supplies
Instructions//
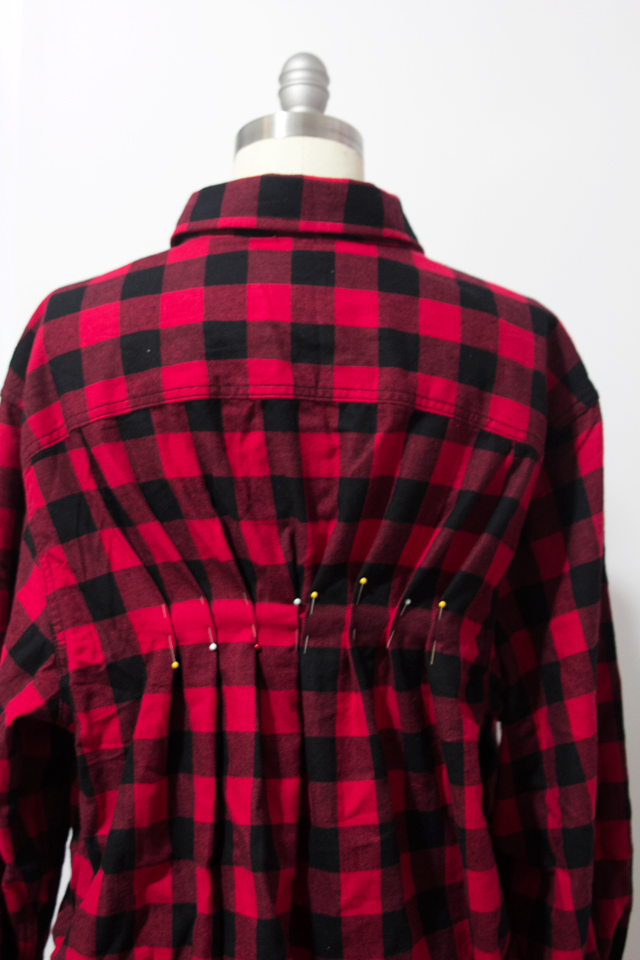
To take in the back of the shirt, create pleats following the checks on the fabric. Pleats are pretty easy to make when you have 1″ squares to use as your guide.
Create 4 pleats facing into the center on each side of the shirt. My pleasts start about 5″ below the yoke and I sewed the whole square down from the top of the pleat to the bottom to make a nice clean finish. Backstitch at each end. Taking in the back a few inches makes the shirt look fitted instead of baggy.
After you’ve sewn all the pleats down, backstitching at each end, clip all the threads to clean it up!
The front requires basic stretchy elastic. We’ll sew this to the inside of the shirt. Pick a row at the bottom of the pocket that hits right under the bust. If your shirt is different than mine, try it on and find a spot below the bust. Draw a line on the inside of the shirt with a dissappearing ink fabric pen. Stretch the elastic to fit across the line you drew. Pin it as you stretch. Then sew across the middle of the elastic using a zig zag stitch.
Roll up the sleeves for a cozy look and you’re done!


Leave a Reply