See Kate Sew partners with Gugu Guru once again to share a fantastic DIY tutorial. This time? Adorable and easy to make headbands for the little ones in your life.
I’m excited to be back at Gugu Guru this week sharing a knit headband tutorial! If there is one thing about bringing another baby into the house, it’s older child backlash! Whew, we’ve been dealing with some serious jealousy and behavioral issues with my older daughter but have found a few strategies to keep the attention equally divided!
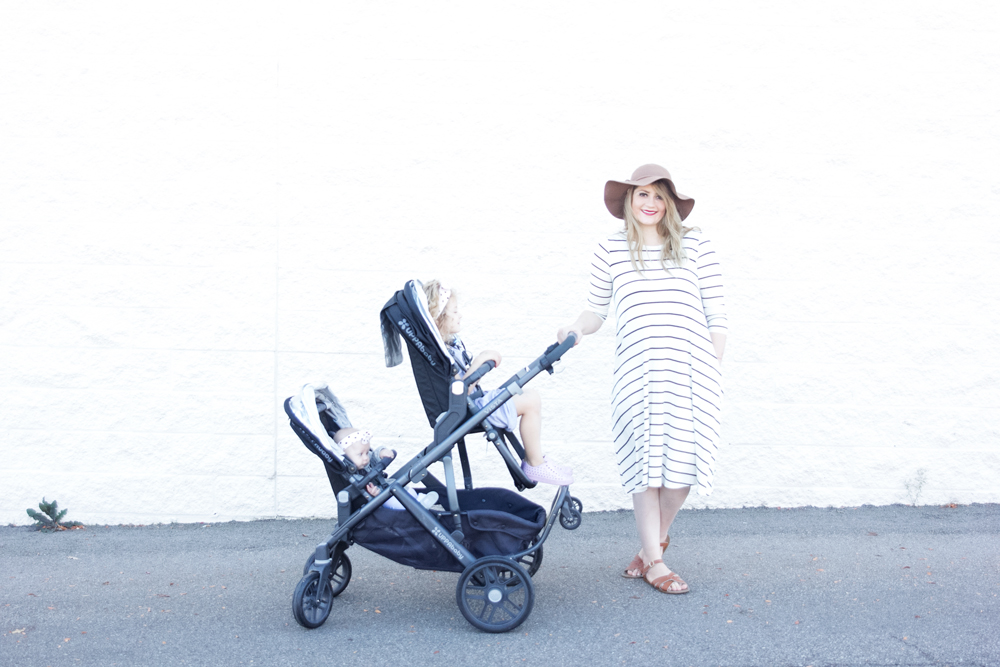
The UppaBaby Vista Stroller is one of them! We love this stroller and it is pretty special that my 3-year-old gets the front seat. She loves peeking on her little sister and I think it makes her feel good that this stroller is really for both of them! I take this stroller everywhere, including the grocery store and walks. It’s super easy to set up, everything clicks into place! And the basket underneath is big enough for a whole load of groceries (I never get carts anymore!) It’s such a great single stroller and an amazing double! I recommend it to everyone!
The attachment options for this stroller are amazing! We love the cup holder, sometimes I use it and sometimes it’s a little snack shelf. And the Piggy Back Stroller board transforms this into a stroller for THREE. An older child can hop on and ride when she gets tired. The brake is super easy to engage and all of the features are just so functional. Each seat has a window flap that closes with magnets (no velcro!) and a bar in front. It’s so well thought-out!
I have lots more to say about using the Vista as a double, read my full review over at See Kate Sew!
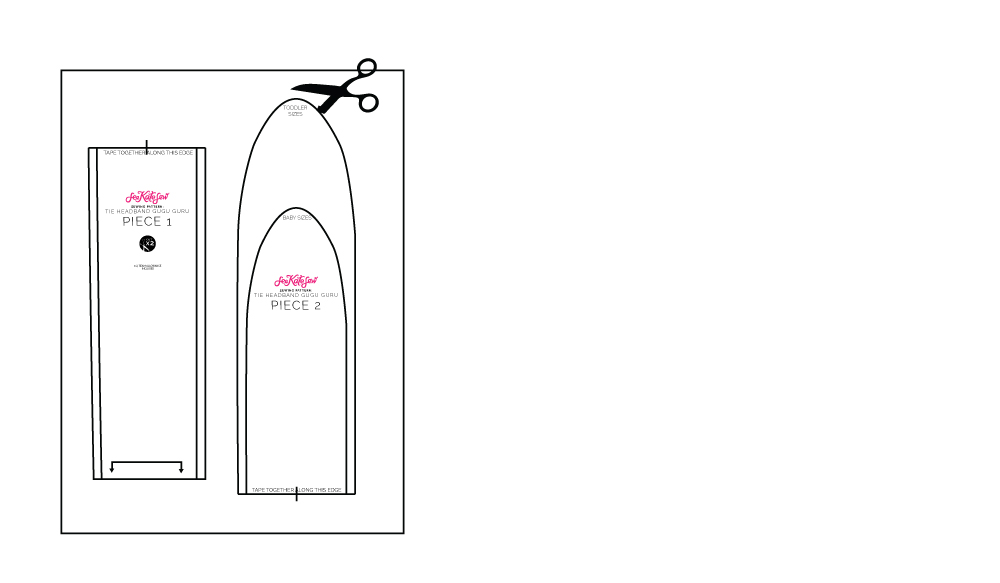
Let’s make some knit headbands! Matching accessories is another way we are fighting the new baby jealousy. This project is super easy and only requires a scrap of knit fabric. I made this pattern in two sizes for little babies and larger toddlers/children. Since you tie the knot, it’s adjustable for lots of head sizes!
Materials:
-1/4 yard stretchy knit fabric
-Matching thread
Instructions:
1. Print the pattern pieces and cut them out. Tape together where indicated on pattern pieces.
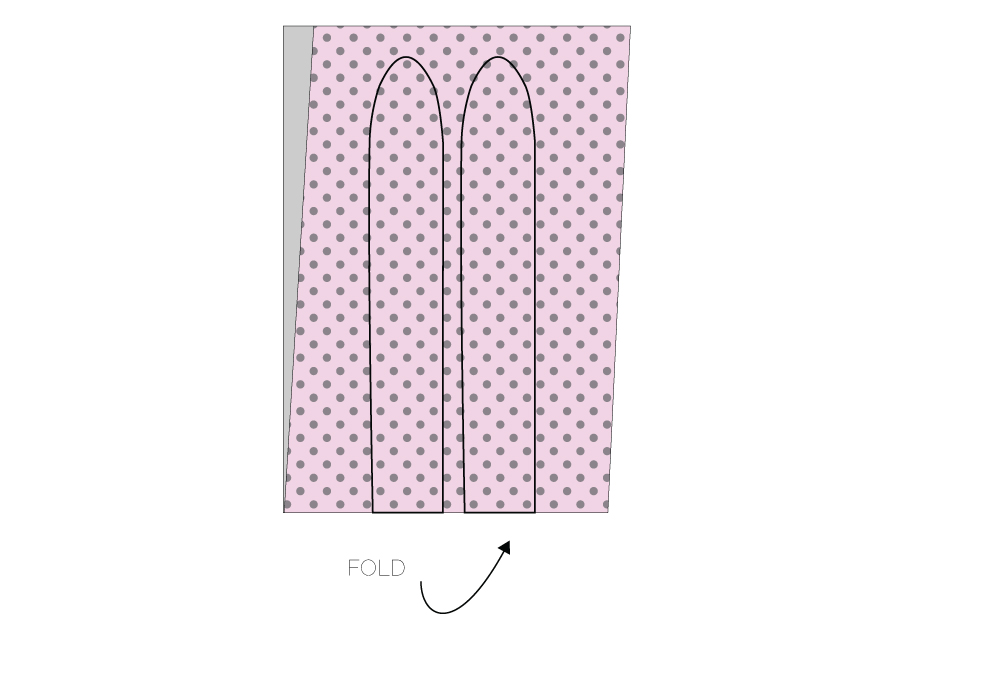
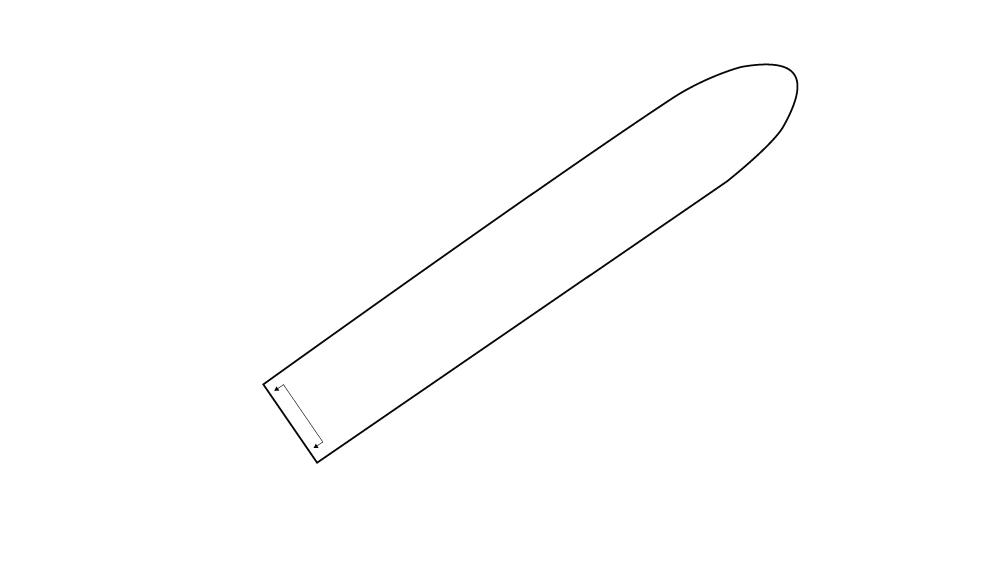
2. Cut out the pattern and pin it to a piece of fabric. The arrows on the pattern will butt up against a fold. Cut 2 pieces.
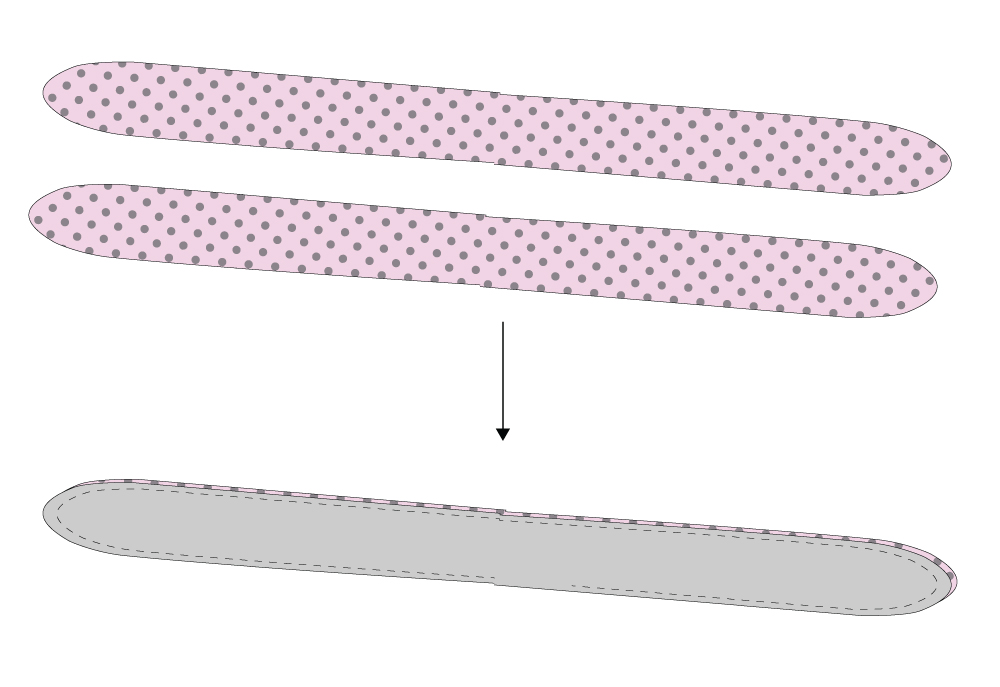
3. Sew together with right sides together 1/4″ from the edges. Leave a 1.5″ opening on one of the straight sides.
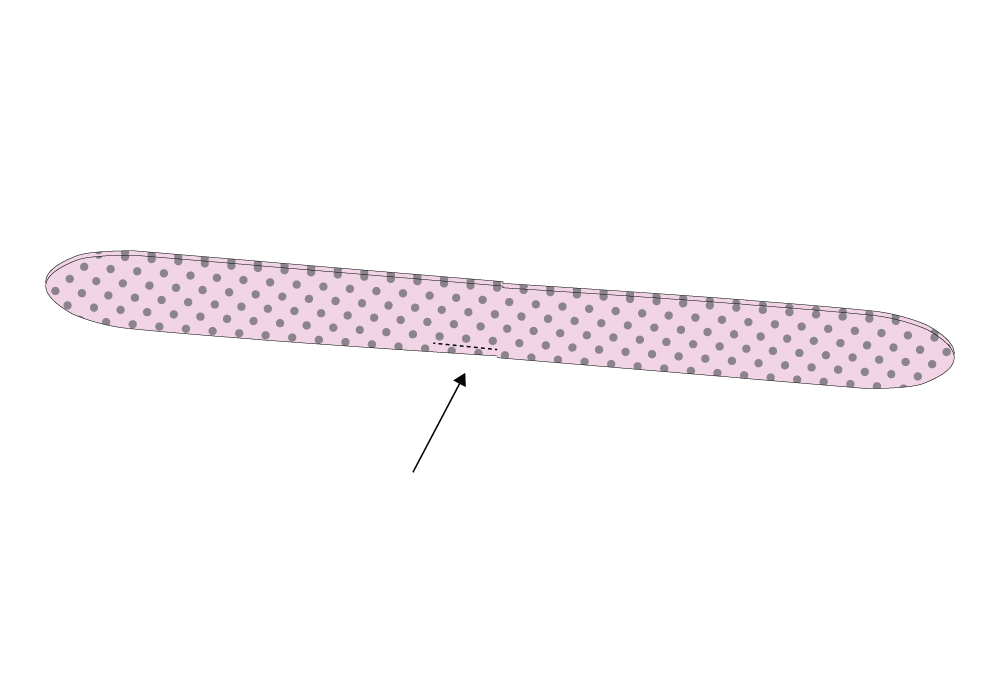
4. Press the headband and stitch the opening closed.
And you’re done!
1 comment
You might want to add that the headband needs to be turned so that right sides are out before pressing and sewing the opening closed. An inexperienced sewer might not know to do that step. Thanks for the pattern!