See Kate Sew partners with Gugu Guru again to share a fantastic DIY tutorial. This time? A DIY crinkle toy to match up with her TWELVElittle diaper bag. Read on to get the details…
I’m thrilled about this post, I love the project and I love the bag that goes with it! Today’s DIY project is a Knotted Crinkle Toy for baby! It’s a fun, sensory toy with a wooden ring. Lots of things for baby to touch and hear. This is a type of sewing I’ve never done before (with crinkle material!) but it was super easy and fun! Even if you’re new to sewing, you’ll be able to tackle this project.
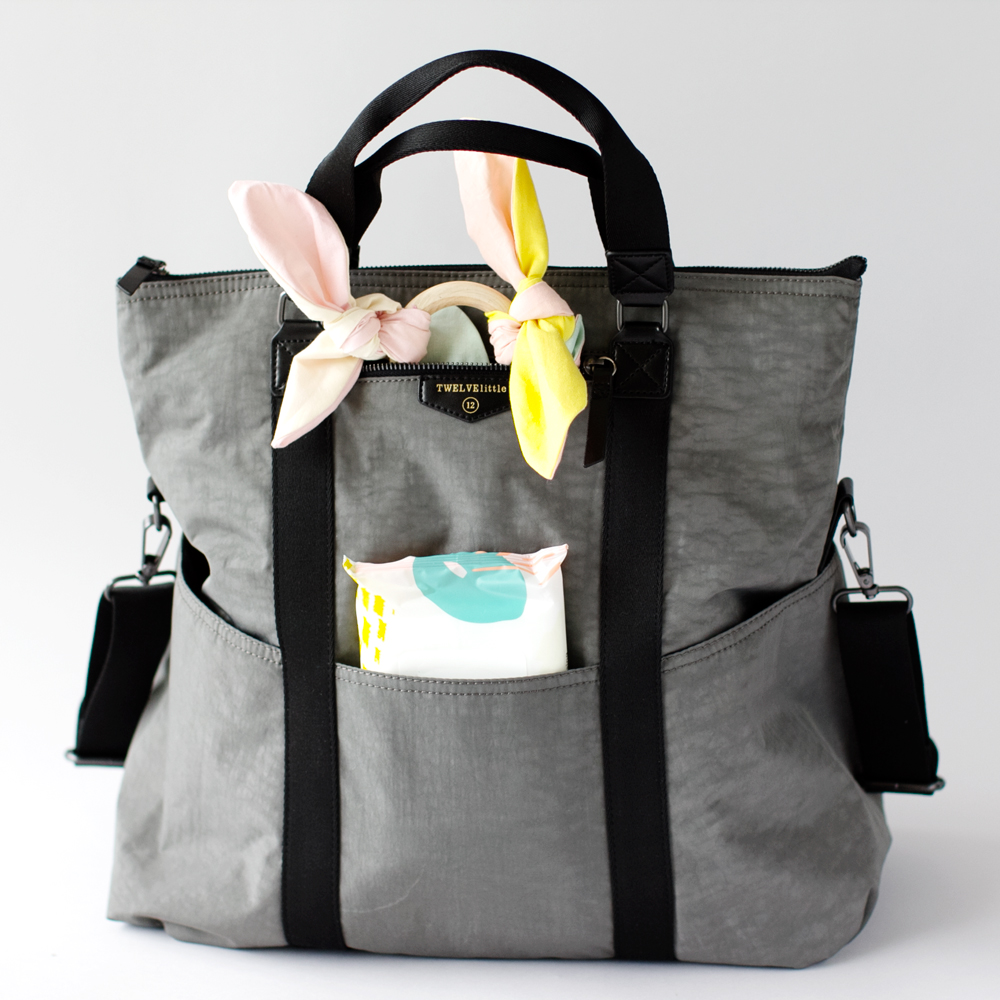
TWELVElittle is a modern diaper bag company, but you might not even know it by looking at their bags. I fell in love with this 3-in-1 Foldover Tote. Having a big diaper bag has been so nice! One baby alone is a good enough reason to have a diaper bag that can hold a whole bunch, but since I have 2 other kids, too, the space is extra useful.
A few other things I love about this bag:
- The color is so nice and dimensional, plus the fabric is wipeable and just nice!
- It can be a tote, backpack or sling bag, depending on how you clip the strap! A hands-free option is a must with kids!
- The color and style won’t be embarrassing for my husband, he carries the diaper bag often, and he likes it, too.
- The interior is wipeable and has lots of pockets and they’re big – for bottles, sippys, diapers, wipes, etc. Plus a few zippered pockets (on the inside and out) for my stuff.
- The style is classy enough for date night!
I couldn’t quite decide which pocket was best for my wooden ring crinkle toy, but let’s make one anyways!
DIY Baby Crinkle Toy
Materials:
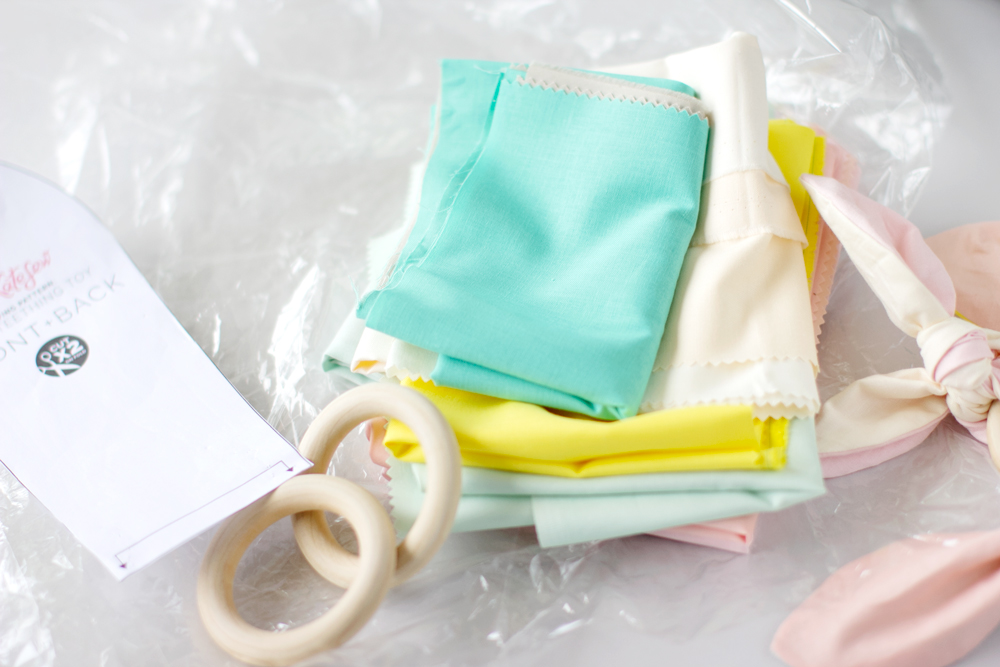
-6 Fat Quarters of solid colored fabric (I’m using Cotton + Steel solids)
-1/2 yard crinkle material* OR an old, clean chip bag
-3″ unfinished wooden ring
-Free Pattern Download
*I used a clear CPSIA and EN71 compliant crinkle material which you can find with a quick google search. A chip or similar food product bag will give you a similar sound, so it’s up to you what you want to use.
Instructions:
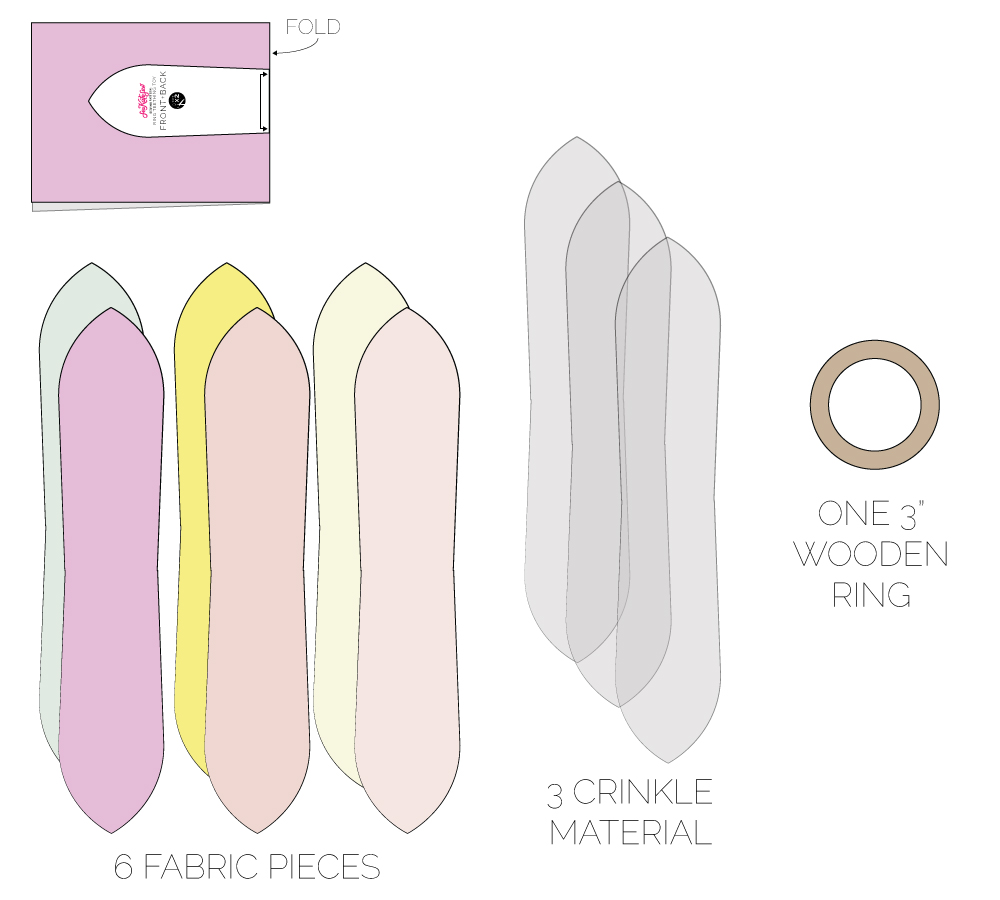
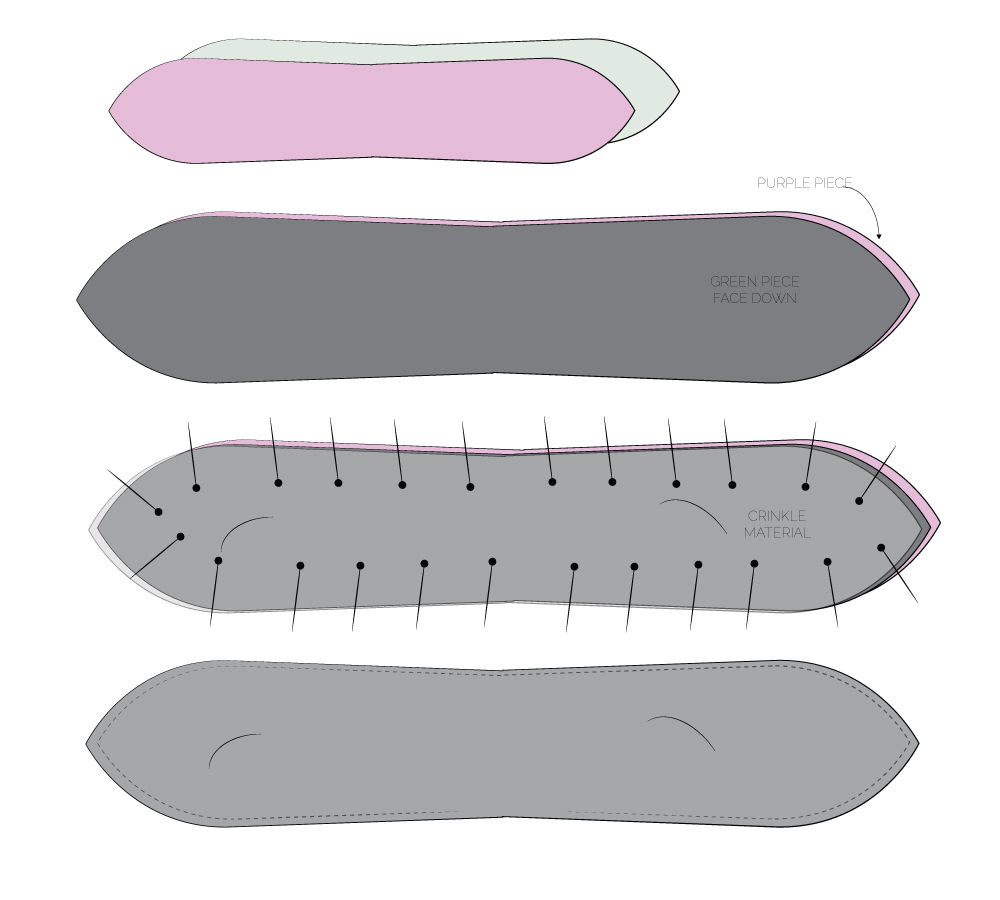
Use the pattern piece to cut SIX layers of fabric. Align the Fold Arrow on a fold of the fabric and cut out with fabric scissors. Use the same pattern piece to cut THREE layers of crinkle material.
Decide which colors/patterns you want to pair together and stack them up. You’ll put the two fabric layers together with the right sides of the fabric together. Then pin the crinkle material to the backside of one fabric.
Sew around the edges of the stack, 1/4″ from the edge of the fabric. Leave a 1-2″ opening on one side, right in the middle of the toy.
Clip the points of the fabric and turn through the opening. Push the edges out and press with low heat.
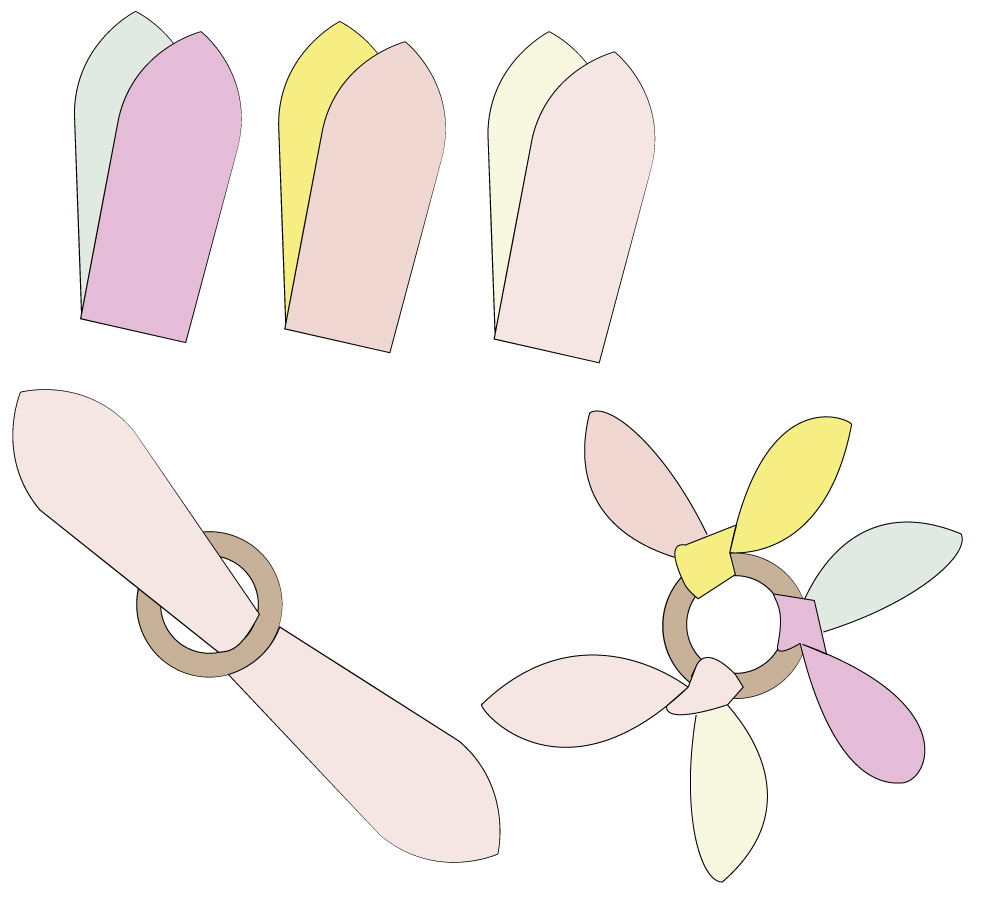
Make 2 more fabric pieces with remaining materials.
There is no need to finish the opening, since we’ll be knotting it onto the wooden ring.
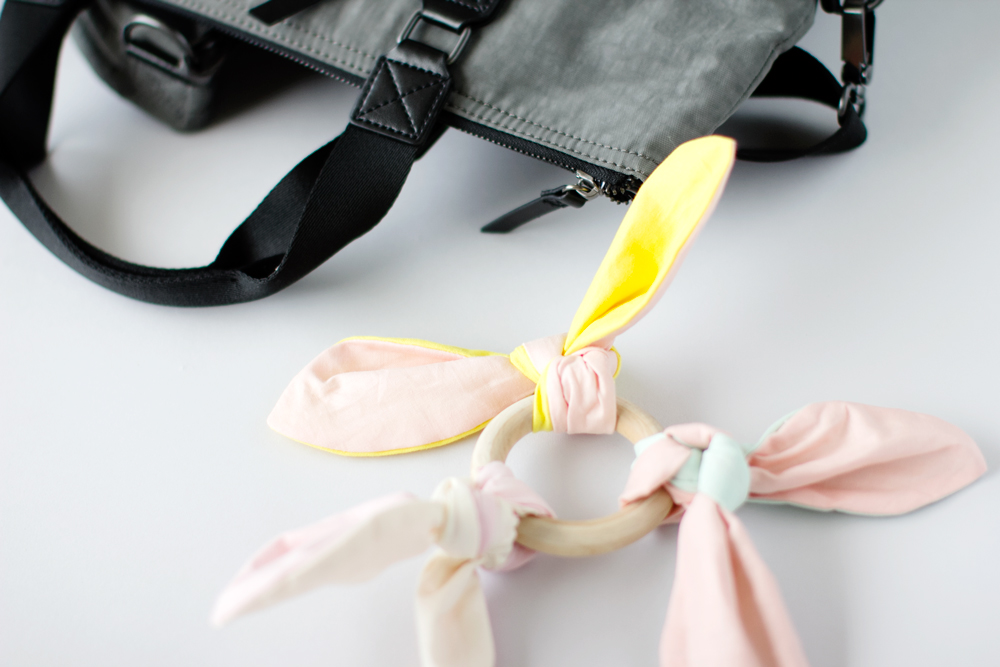
To wrap up this project, grab your wooden ring and tie the fabric piece around it. Make a knot and then make a second knot and pull the ends so the knot is really tight. Repeat with all 3 fabric pieces until you have 3 fabric knot pieces with extra ears sticking out.
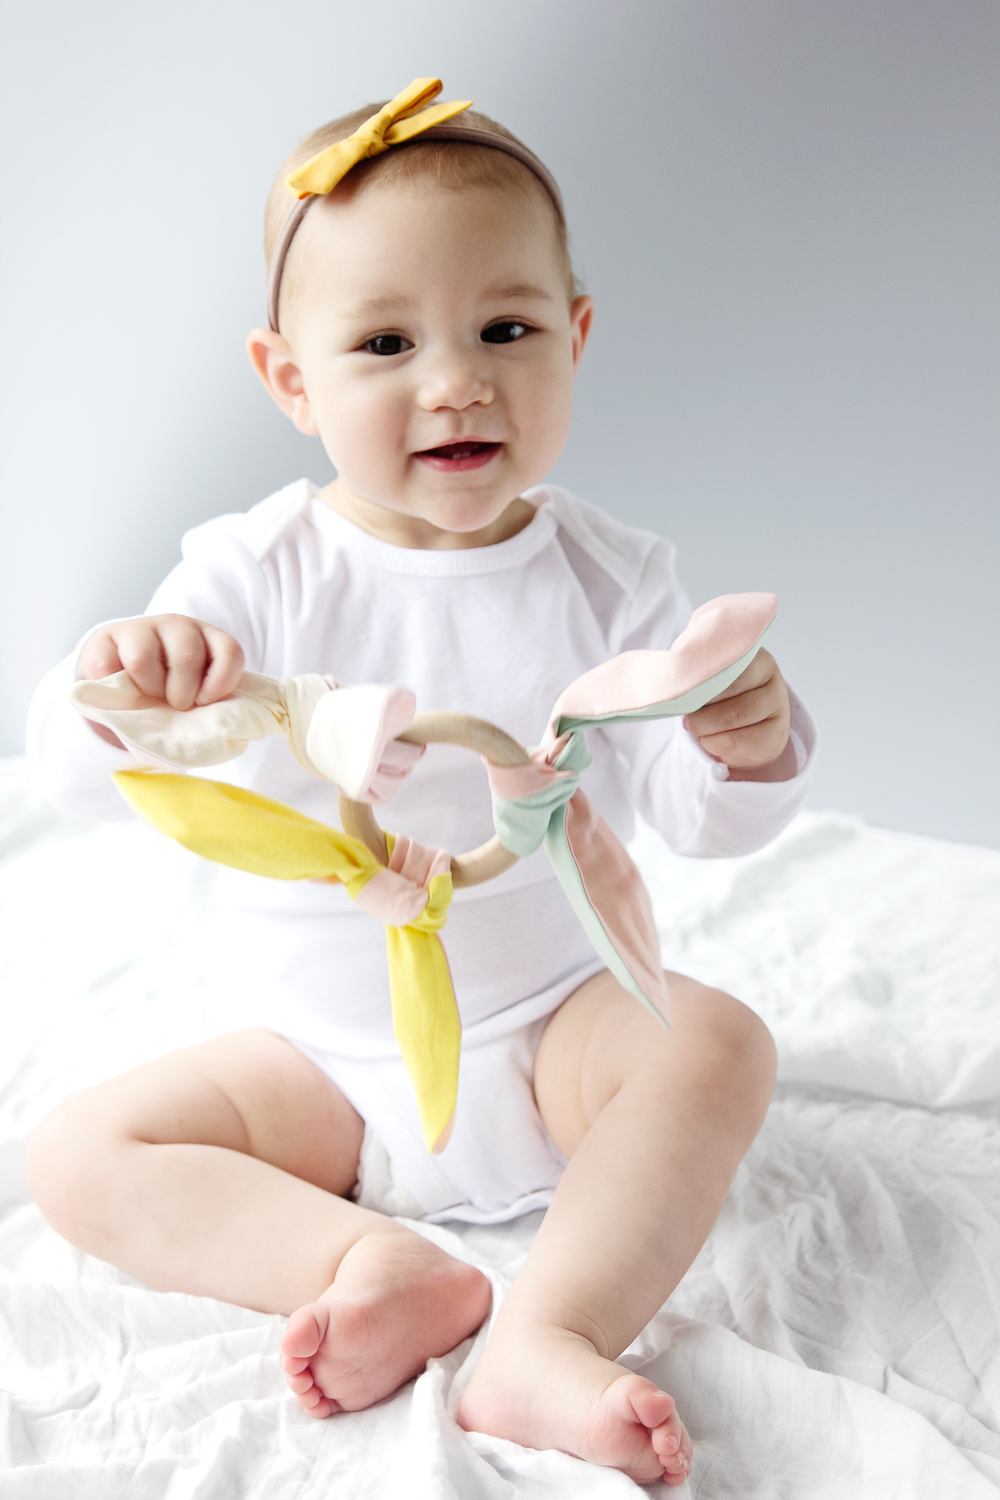
All done! The fabric is crinkly and makes a fun sound, and the wood is also great to grab. Hopefully this toy will be a hit!
So cute… Thanks
I love your toy. Thank you!
love this sweet idea. perfect for my grandbaby expected in July!