See Kate Sew partners with Gugu Guru once again to share a fantastic DIY tutorial. This time? A cute lunchbag for baby, toddler or even mama.
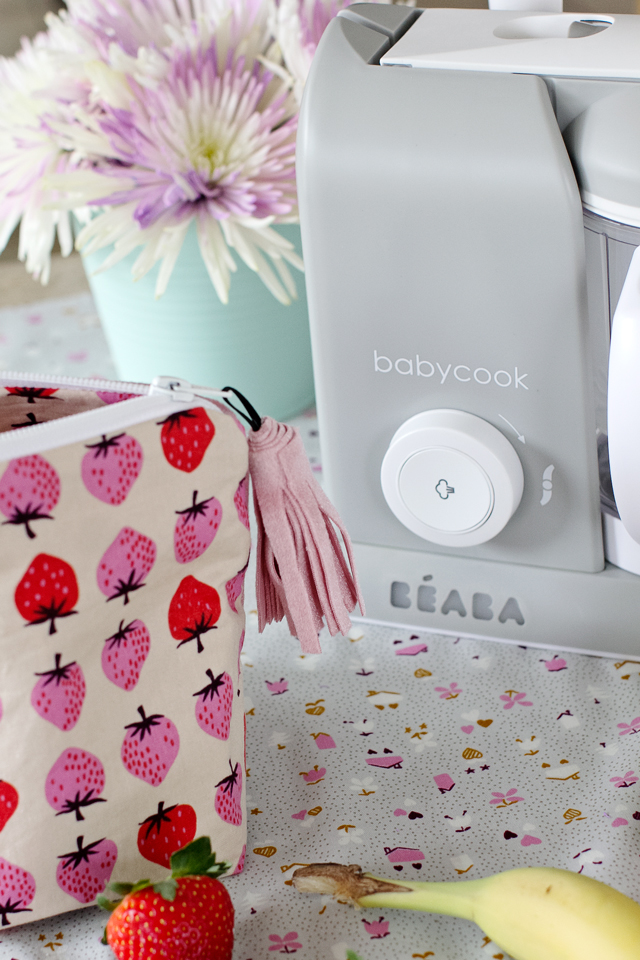
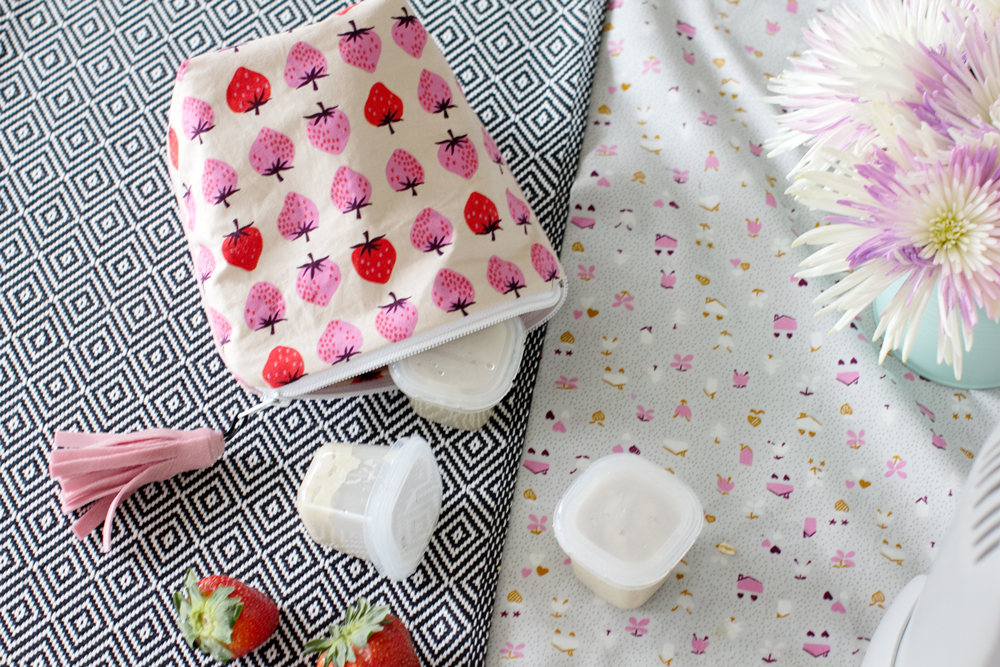
I’m so excited to be here today with a fun lunch bag pattern for you! This little pouch is perfect for stashing baby food containers, fruit and more! It’s also super easy to make! We had a blast making baby food with the Beaba Babycook. It was my first time making baby food and it was so easy! I guess I’ve been scared of making it myself before but now I’m excited to try all sorts of new flavor combinations for my 9-month-old!
Click over to SeeKateSew.com to read my review of the Beaba Babycook! I’m also sharing 4 baby food recipes that I made in the Babycook!
Ready to sew?
This cute little bag is perfect for stashing in your purse or diaper bag as you head out the door. The thick velvet fabric will give it a bit of insulation (as well as a luxe feel!) and the strawberries on the other side are just too cute! This project is great for an advanced beginner, there’s a zipper but it’s not too hard to install!
Materials:
1/3 yard velvet
1/3 yard quilting cotton, I’m using Cotton + Steel Yours Truly
1/3 yard fusible interfacing
one 12″ zipper
Instructions:
This is a basic zipper pouch pattern with a little twist!
1. Cut out 2 pattern pieces from the velvet and two from the strawberry fabric. Then cut 4 from the fusible interfacing.
2. Fuse the interfacing to the back of each fabric piece.
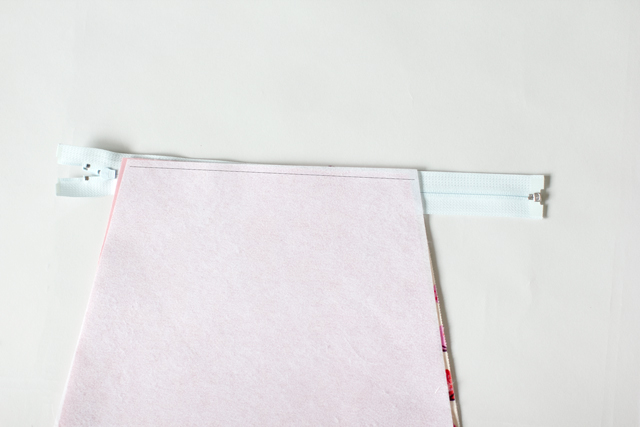
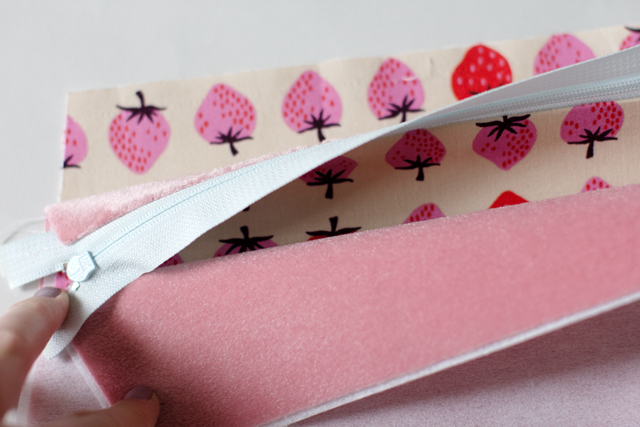
3. Lay the zipper face down on a strawberry fabric.
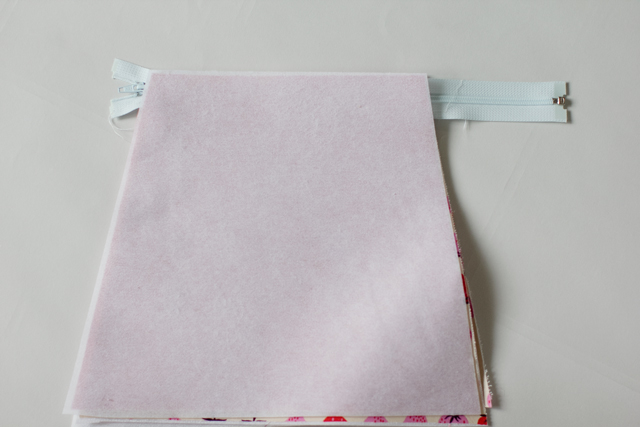
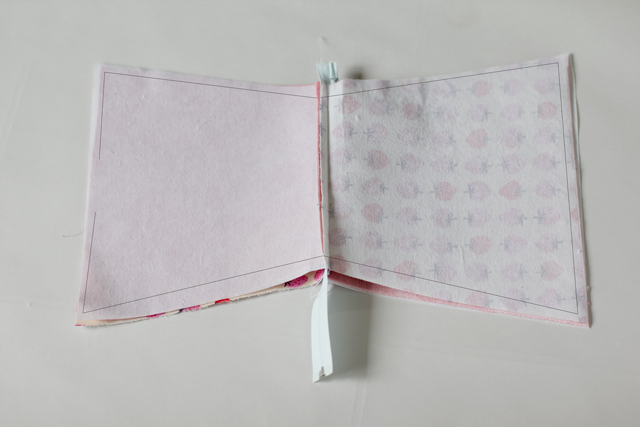
4. Place a velvet piece on top of the zipper, face down. Sew where line is shown below.
5. Fold pieces back and press well.
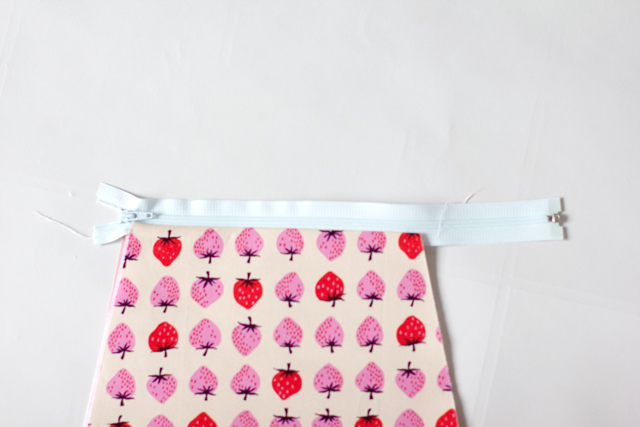
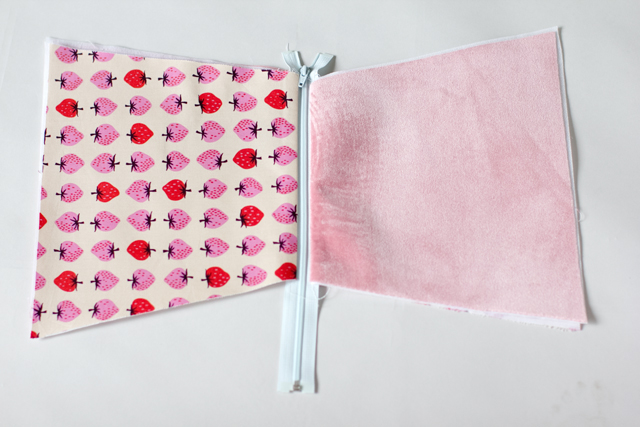
6. Lay the other side of the zipper on the second strawberry fabric piece face up. Then place the other velvet piece on top face down.
7. Stitch along the top.
8. Fold back and press.
9. Open the zipper and fold the fabrics over so all right sides are facing inward. Sew all the way around, leaving a 3″ opening in the lining. Clip the corners.
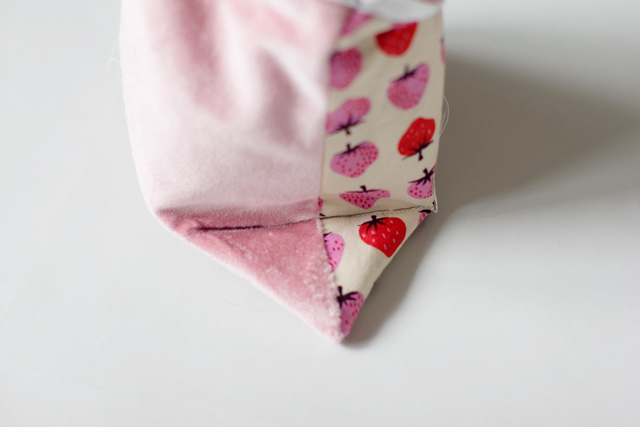
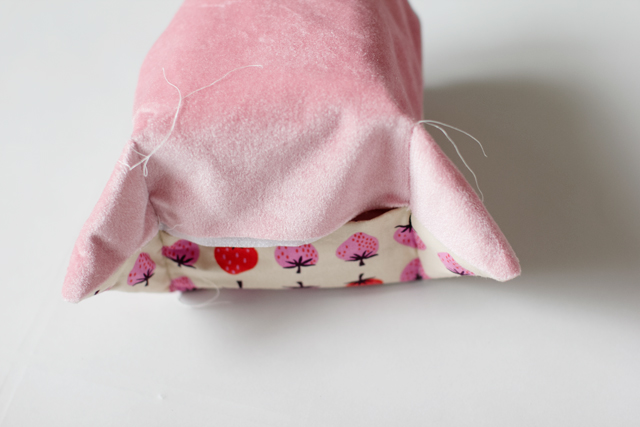
10. Turn the bag inside out and pinch the bottom corners, perpendicular to the side seam. Measure up 2.5″ and mark it. I used a pen, which is really a sewing “no-no”. Shh, don’t tell! 😉 Stitch over the line you created and repeat on the other side. This big pinch will give it the shape on the bottom to hold lots of baby food! Clip off the excess fabric and sew up the bottom opening with a ladder stitch.



2 comments
It’s says free pattern but no pattern to download
Hi Barbara – we will look into this!