See Kate Sew partners with Gugu Guru once again to share a fantastic DIY tutorial. This time? A lovely yoga mat for postpartum (and anytime) yoga. Want to check out more DIY projects from Kate? Click over to see the full list – lots of fun summer project ideas!
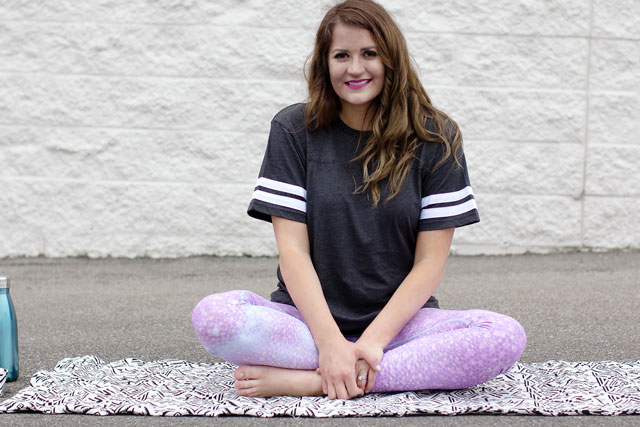
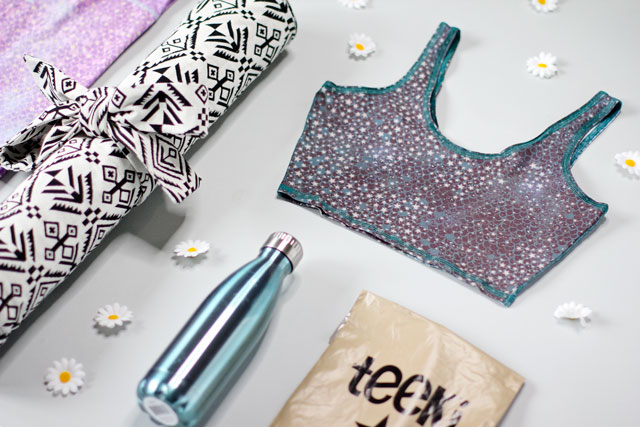
Mermaid leggings!? You heard that right! These super stretchy yoga leggings have a tiny mermaid scale print all over in magical colors! I have wanted mermaid leggings forever and these are amazing! I’m also wearing the matching tank bra from Teeki. Teeki has so many cute activewear prints and styles!
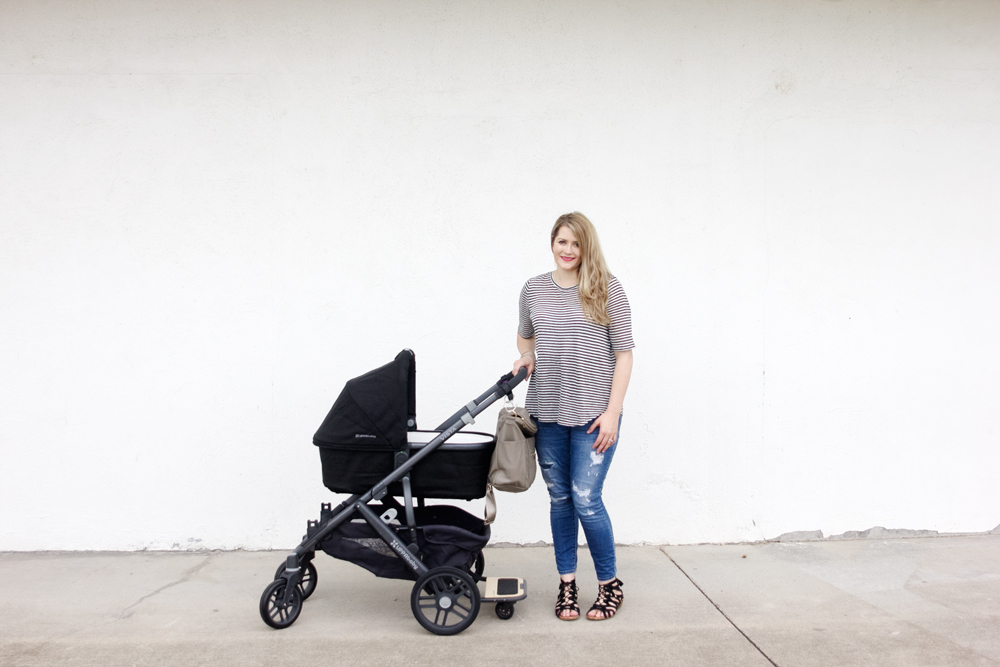
I’m wearing the Mermaid Hot Pants in purple and Mermaid Tank in teal. Today I’m sharing a DIY Yoga Mat tutorial that you can sew yourself! The best part about a DIY yoga mat is that you can choose cute fabric prints to match your yoga pants! 😉 I chose two black and white fabrics, one knit, one canvas. New workout clothes and accessories is the perfect way to motivate yourself after having a baby and I love yoga in the postpartum period because it’s generally low impact and can be easily adapted to how you’re feeling! I always leave a yoga session feeling better body and mind!
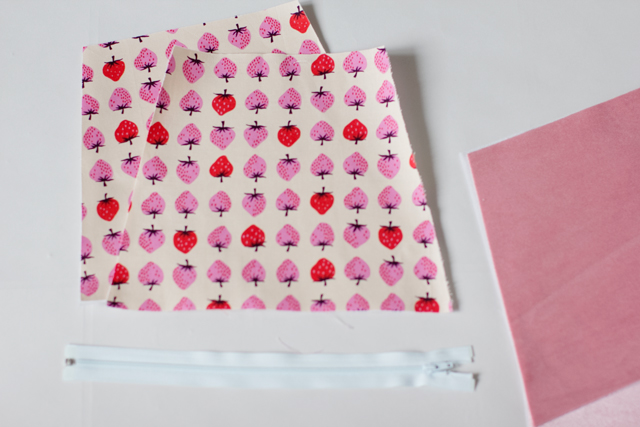
Materials //
-Fabric for top
- Choose any fabric for the top of the yoga mat! I’m using a medium weight knit. I chose this because it’s cute, but also it is a soft fabric that will be nice to perform yoga on!
-Fabric for bottom
- I’m using a heavyweight canvas for the bottom of the yoga mat. This type of fabric is easier to brush off than a more clingy cotton. The surface won’t really be wipeable, but you can dust it off.
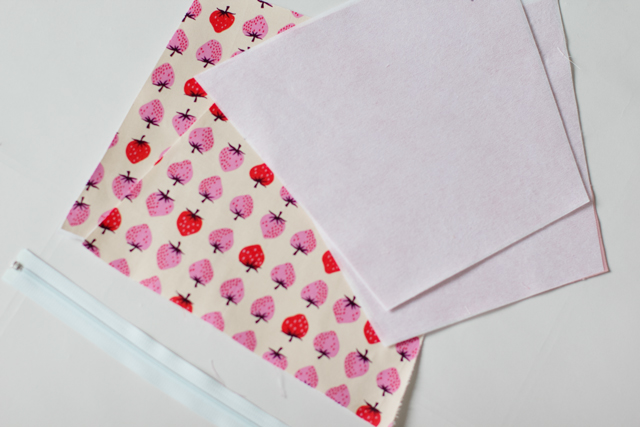
-Interfacing
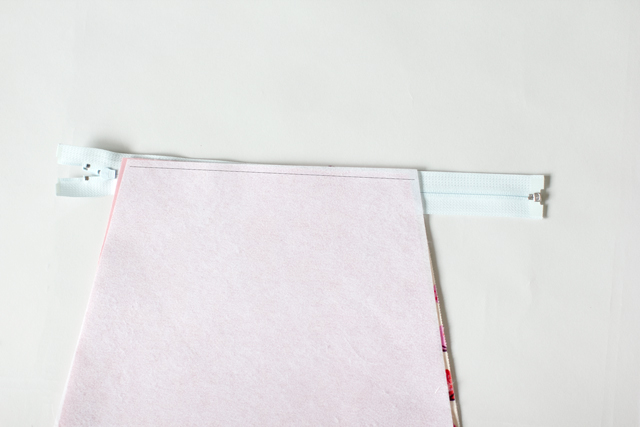
Instructions //
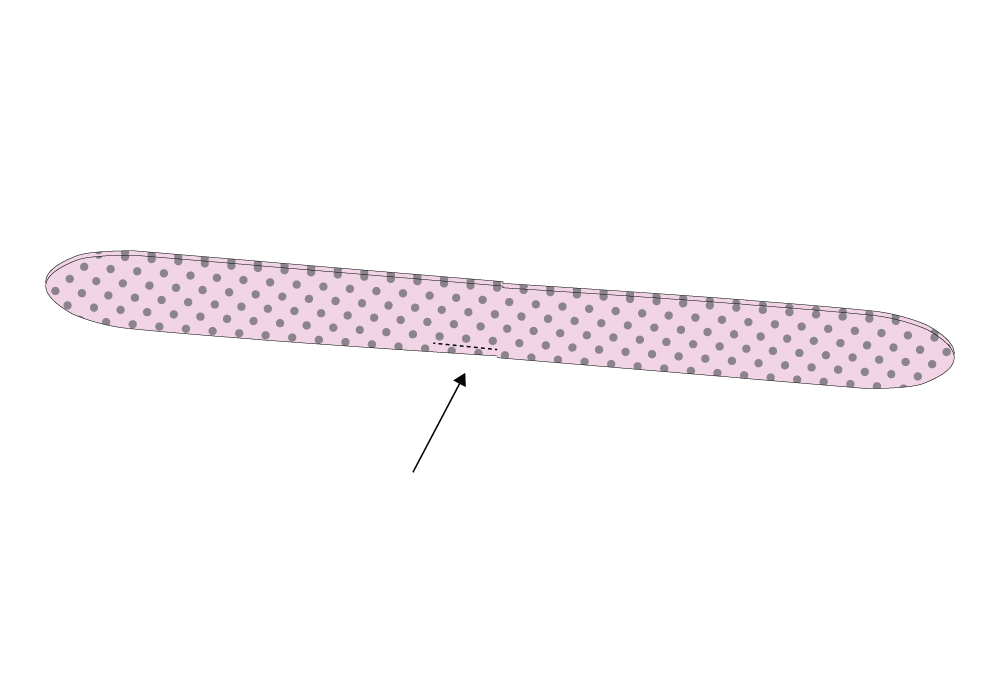
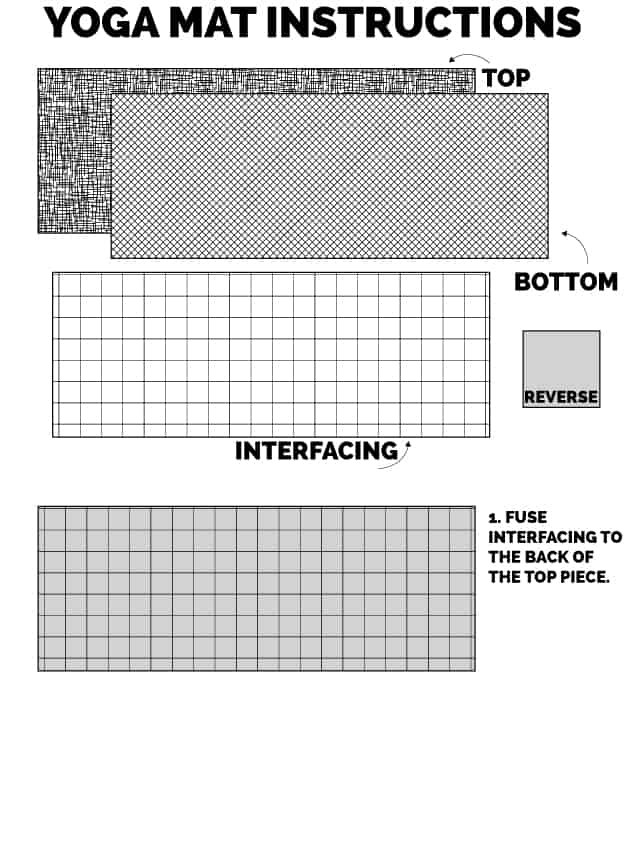
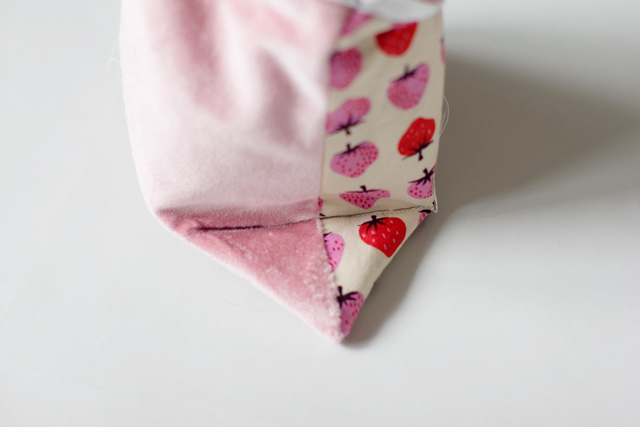
Use a 1/2″ seam allowance.
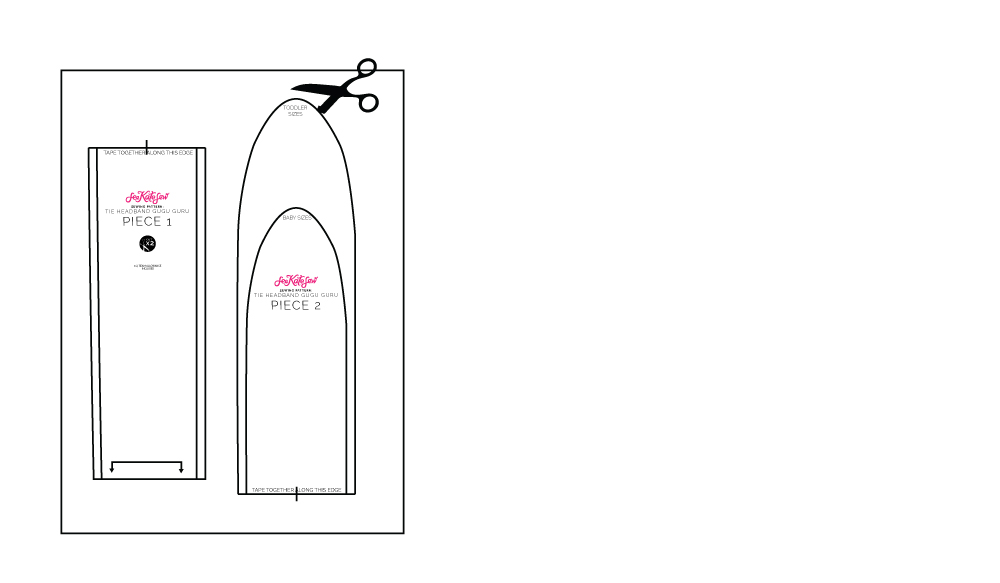
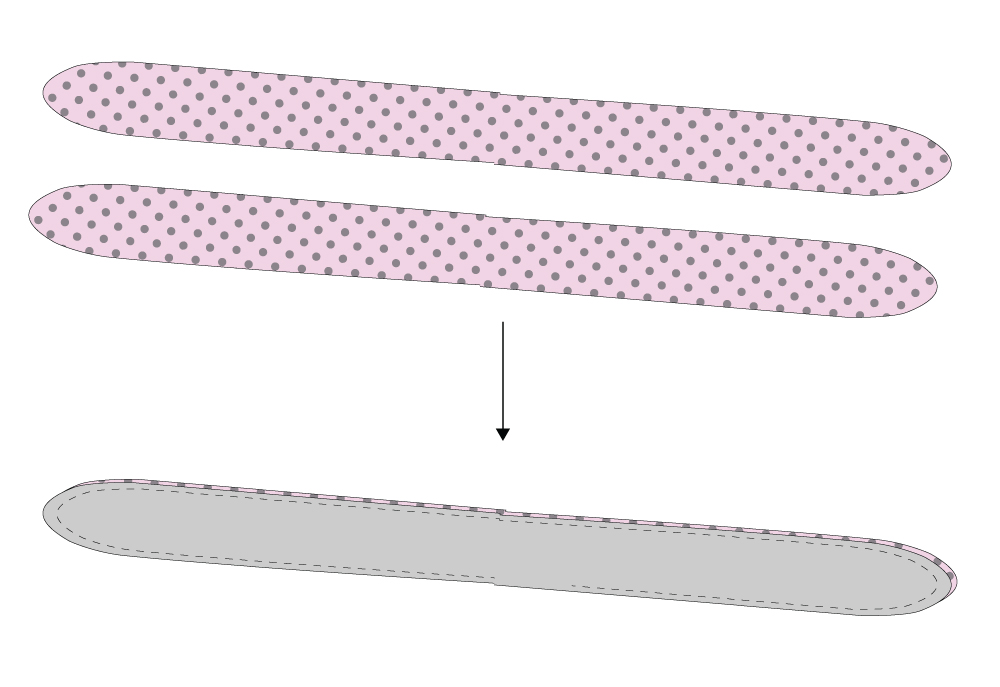
- Cut out two pieces of fabric 25″ by 69″, one from your top layer and one from your bottom layer.
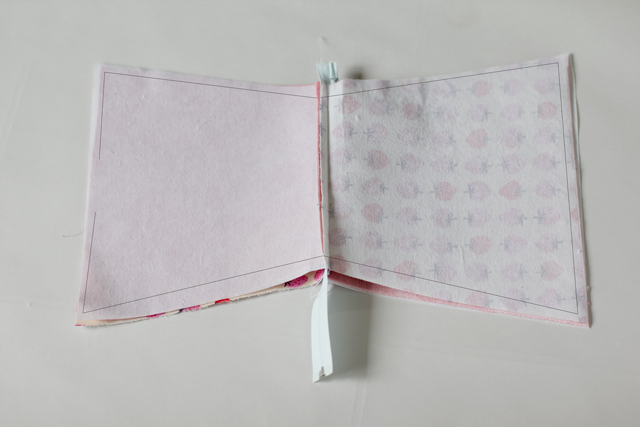
- Cut a piece of lightweight fusible interfacing the same size.
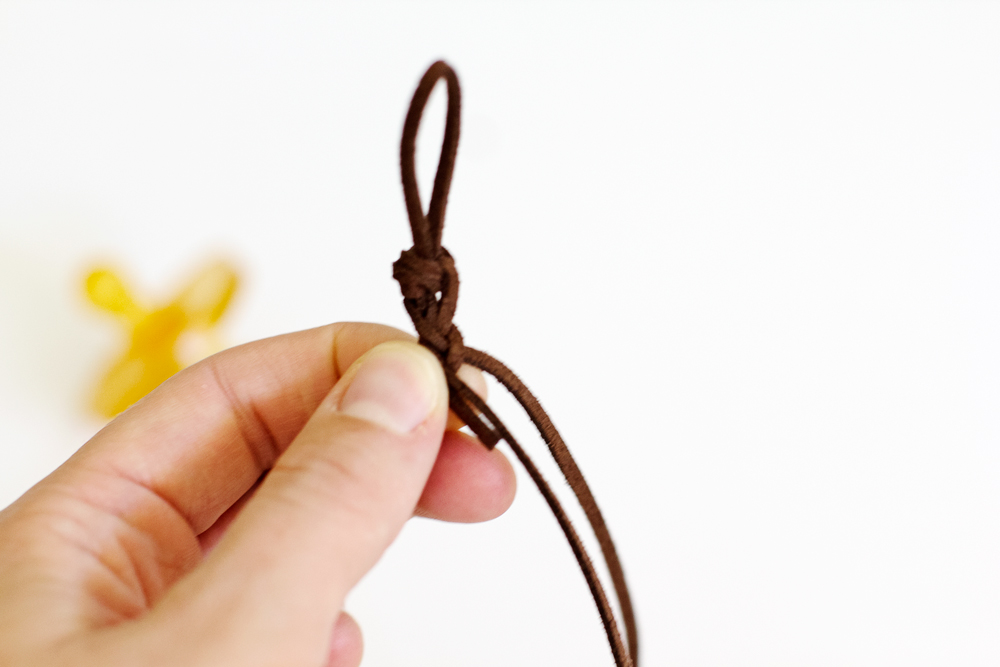
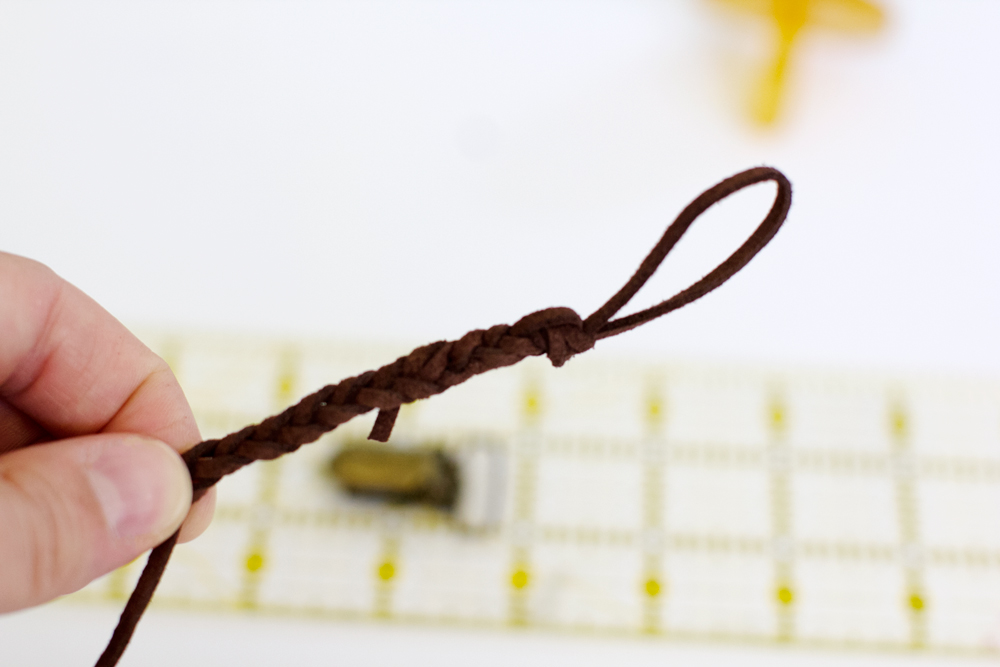
- Cut out 2 pieces of fabric 3.5″ by 56″ for a tie.

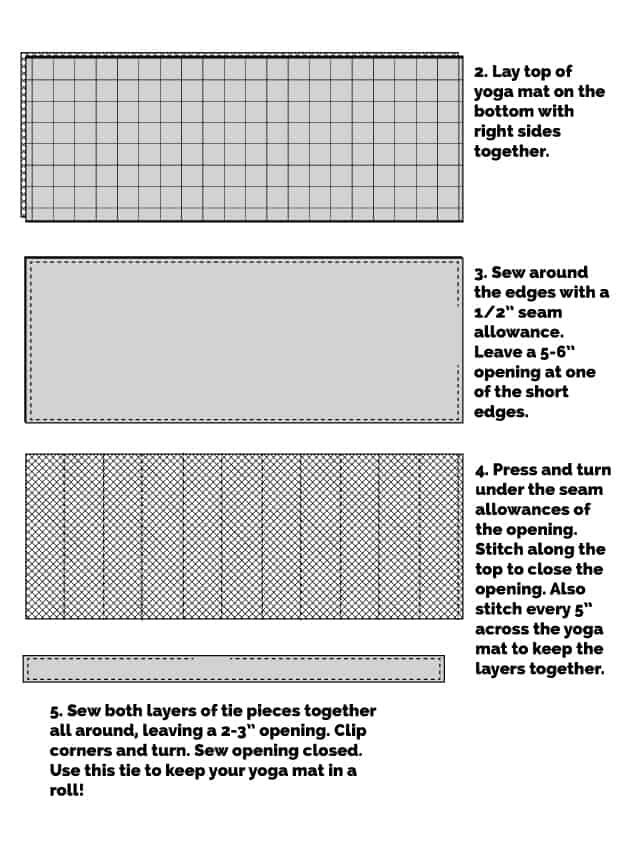
All done! Now pull up your mermaid pants and get your yoga on!


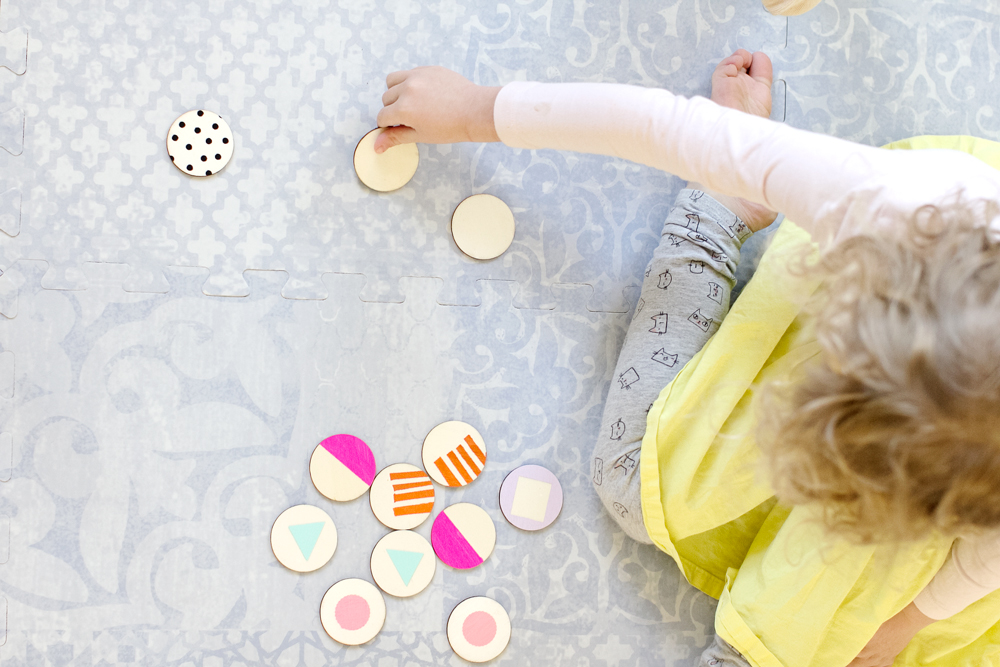
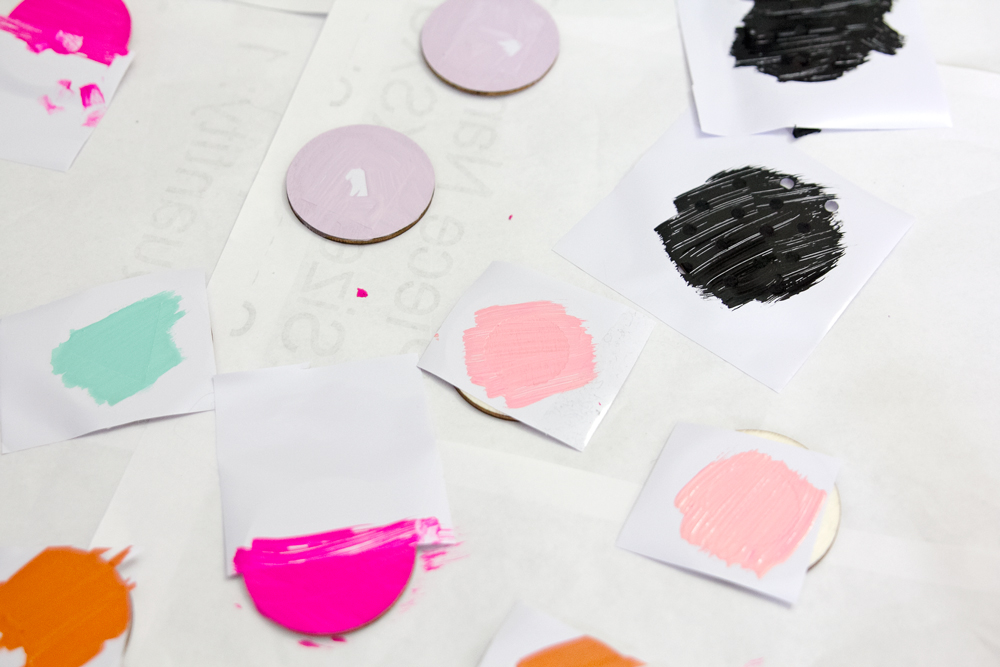
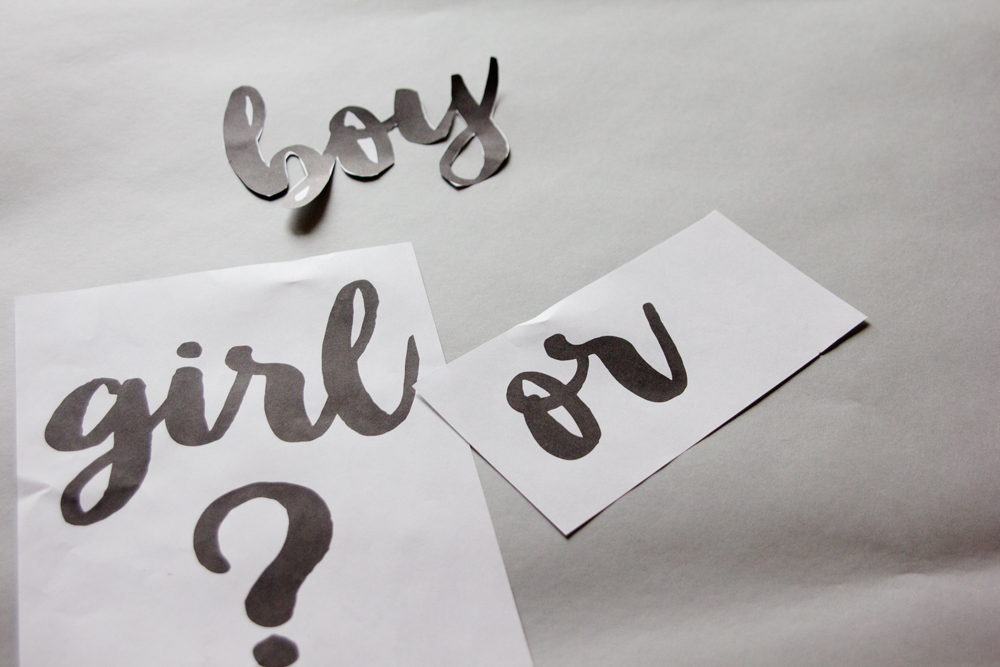
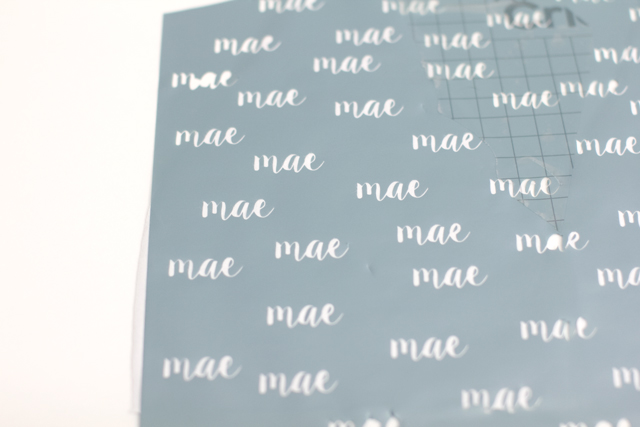
 Let the paint dry, then peel off the vinyl. Your shape will be nice and dry and you’ll be ready to play.